Preserving Summer's Bounty: The Ultimate Guide to Freezing Fresh Berries
Homegrown berries are a summer treat, but their short season requires preservation. This guide provides a step-by-step process for freezing berries, ensuring you can enjoy them year-round.
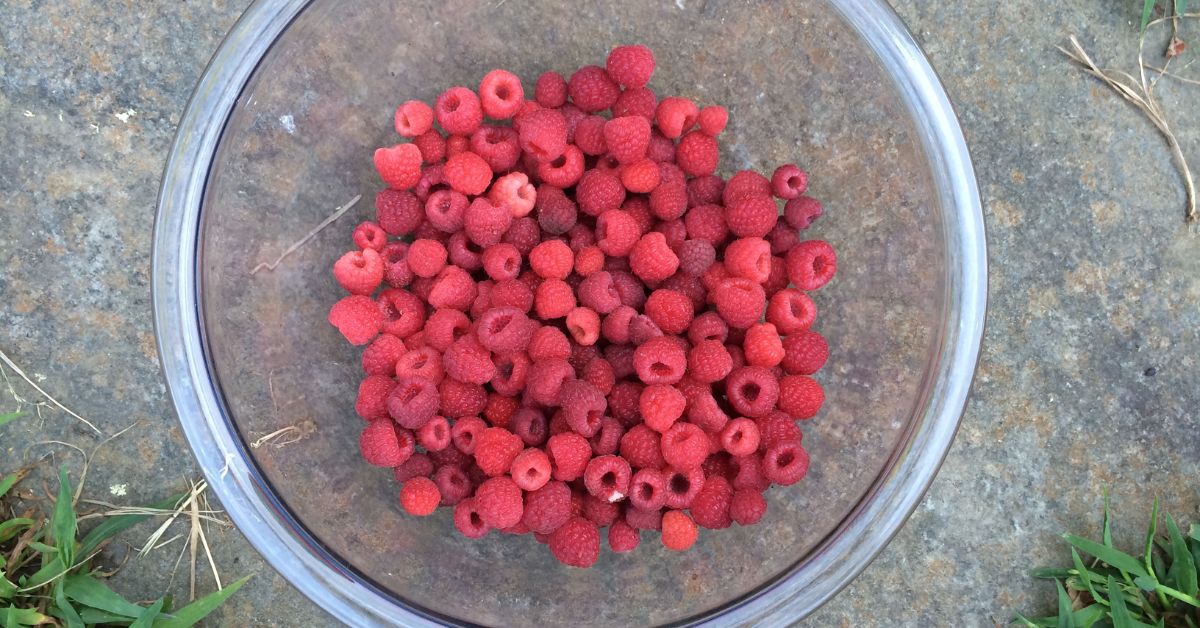
Freezing raw berries is simple and effective. However, proper preparation prevents mushy, clumped results. While blueberries, blackberries, and high-bush raspberries often need minimal washing (especially after rain), strawberries and low-bush raspberries require thorough cleaning due to their proximity to the ground. Crucially, complete drying is essential before freezing to avoid spoilage and clumping.
Washing and Drying Berries: After harvesting, immediately bring berries indoors to prevent spoilage. Rinse them gently in a large bowl of water, allowing sediment to settle. Transfer to a colander, then spread in a single layer on clean kitchen towels. Allow to air dry for several hours, or use a fan to expedite the process.
Removing Strawberry Tops: While optional, removing strawberry tops before freezing is recommended for easier use in pies or jams later. The greens are edible, but the stems should be removed. This is more easily accomplished before freezing.
Freezing Berries: Arrange washed and dried berries in a single layer on a parchment-lined cookie sheet. Freeze for at least three hours, or until solid. Transfer the frozen berries to freezer bags or airtight containers for long-term storage.
Storage and Use: Frozen berries generally maintain quality for about a year. They can be used in various recipes, although their texture will be softer than fresh berries after thawing. Consider using them in jams, muffins, or smoothies.
This comprehensive guide ensures your homegrown berries remain delicious and available throughout the year, transforming a fleeting summer abundance into lasting enjoyment.